Many businesses have take the plunge to start a Facebook page but quite a few have no idea why; they just know the “big boys” do so there must be something to it. If you find yourself in that category, I’m about to share with you how you can attract and retain new clients, market your products and make sales, which, after all, is the bottom line isn’t it?
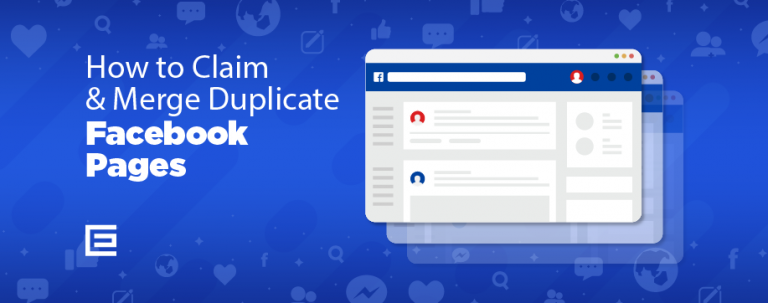
Bear in mind that your business page is different from your personal profile. I’ve seen some businesses set up their business profile on the personal profile page. This is a big no-no with Facebook and could get you banned. You must however have a personal profile page before you set up your business page or you lose much of the marketing benefit available from your Biz page. So assuming you have your personal profile set up let’s get started setting up your business page.- Don’t Use Your Business Name Say whaaat? Ok, you can use your business name UNDER ONE CONDITION… that it contains relevant keywords. Remember that you’re trying to attract NEW clients not just those that already know your name. New clients will be searching in Facebook using keywords not your business name. Do a little keyword research to find out what terms people are actually using to find your goods or services.
- Pick the Most Relevant Category You’ll see an option to pick from 6 categories each having multiple subcategories for more specificity. Pick the one that most closely describes your business. This can be changed in your “page” settings later so don’t obsess. Remember your keywords and think about what people might search out of these options to find you.
- Fill Out the Info Page Take the time to go through each section of the info tab. Use your keywords in the content and don’t forget to put the URL for your website. Bear in mind that Google and other search engines actually index Facebook pages, which can help with your page rank for designated keywords. Speak in your clients “language”; don’t be technical, high brow, etc unless your clients are.
- Design a Relevant Profile Picture This is located in the upper right hand corner and can be as large as 140 pix x 580 pix. The default is much smaller so this needs to be strategically laid out. Graphically I like to design them to coordinate with the company’s website. Make it graphically eye catching, not too wordy and have a call to action like “Call Now” (w/ phone number) or “like” our page.
- Optimize the 5 Photos at the Top of the Page These 5 pictures or “thumbnails” as they’re called, are rarely used to market products or services so it’s a huge missed opportunity for marketing. Have 5 graphics designed to represent 5 of your products or services. These are uploaded as JPEG photos and in the description you put a URL link to the relevant service or product page on your Website. You can even add some description to your photo/graphic that shows up when someone clicks on the thumbnail. VERY COOL! These links also create back links to your site that help with SEO
- Feed Your RSS Blog Feed to Your Site There are tutorials you can “Google” that will walk you through the steps but you can actually feed your new blog posts automatically into your Facebook page through “notes”.
- Link to Other Social Media Sites You can link you page to your twitter feed. Just go into you admin area under resources. Once you connect your posts will auto-feed to Twitter.
- Add Valuable Content Make sure you post regularly – several times per week – and make sure your post include valuable FREE content you potential clients can use. Don’t just continually sell. Use the 80/20 rule; 80% free valuable content, 20% promotion.
- Add Applications You can add things like contact forms, review pages and even auto-responders from some suppliers like Aweber. Ok, that’s the infrastructure. Once you have the above set up, looking good with a few weeks of content posted it’s time to get some Fan’s.
- Invite Your Friends Your initial goal is to get over 25 “likes”, which I’ll explain in a moment. When you initially set up your page you should see a set up page that lists things you should do; one of them being invite your friends. Your friends are those that you’re connected to on your personal profile, which, as mentioned before, you need to have BEFORE you set up your Business Page.
- Change Your URL When You Reach 25 Likes After you reach 25 “likes”, you’re able to change your URL, which now has a long number behind it. You can change this on your info page. This URL does not need to be the name of your page. Remember your keywords and pick something searchable; This helps with SEO and page rank as well.
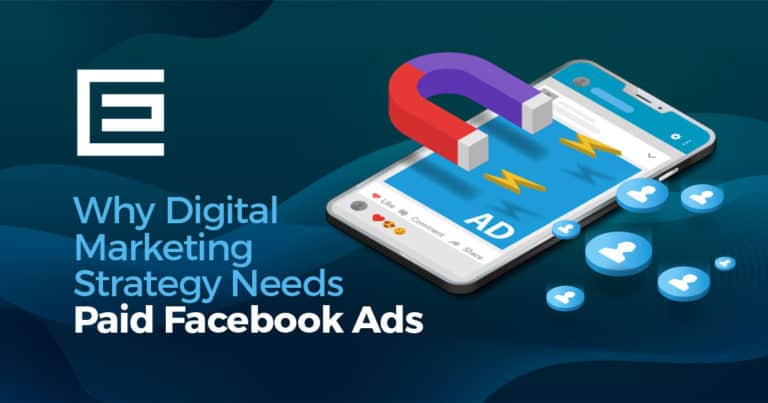
- Jumpstart Your Number of Likes with Facebook Ads There are 2 ways to grow your following; organically and paid advertising. It takes some time to grow organically, which is done by putting an icon on your website linking to your Facebook page, put the same in your email signature and on all your stationary; anything to get people to your Fan-Page.
